Back to Basics: The Slit Lamp Exam
Mon, 07/20/2020 - 5:11am
Editor:
Back to Basics: The Slit Lamp Exam
Last week, we covered the components of the slit lamp. This week, we're reviewing how to perform the slit lamp exam.
Step 1: Positioning your patient
- Adjust the height of the table to your patient
- Make sure the patient's chin is against the forehead strap or you will be unable to focus the slit lamp
- Align the lateral canthus of the patient with the red line on the supporting rod of the patient-positioning frame
Step 2: Position yourself
- Adjust your stool so you can comfortably look in the oculars
- Adjust the oculars to your interpupillary distance & the focusing ring to your refractive error
- Pick your magnification (8x or 12x is a good start)
Step 3: Performing Diffuse Illumination
- Move the illumination arm to 30 degrees off center, preferably to the temporal aspect of the eye you are examining (we usually avoid the nasal aspect because the illumination arm tends to hit the patient's nose with movement of viewing & illumination arms)
- Start with a tall & wide (3-8 mm) beam for your initial assessment
- Adjust the light brightness to patient tolerance
- Utilizing the white light, globally assess the eye with a systematic approach (i.e. the "Ls & Cs" - lids, lashes, lacrima, lens, limbus, conjunctiva, cornea & chamber [anterior])
- Stain the eye with fluorescein then examine using the cobalt blue light (assess for corneal abrasions, ulcers, Seidel's sign, herpes simplex, etc)
Step 4: Perform Direct Focal Illumination
- Narrow the beam as thin as possible (~1 mm) but keep it tall
- Maximize the light brightness
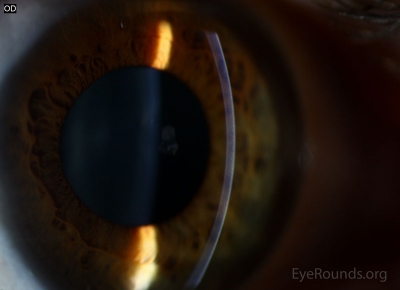
- Move the illumination arm to 60 degrees off center - a curved quadrilateral block should become apparent (aka cornea parallelepiped - see below) - This allows for examination of the depth of the cornea
Photo source: Vislisel, J & Critser, B. Normal cornea. https://webeye.ophth.uiowa.edu/eyeforum/atlas/pages/Normal-Cornea/index.htm. Published June 2, 2015. Accessed July 3, 2020.
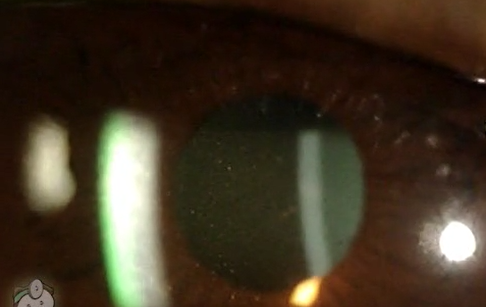
- Next, shorten the beam height (~1 mm x 1 mm).
- Keep the same max brightness and 60 degree angle.
- Move your joystick until the space between the lightsource & the parelleliped is overlying the pupil. The black pupil will allow for visualization of cell and flare (see below).
Photo source: Root, T. "Cell and flare" in the eye (video). https://timroot.com/cell-and-flare-in-the-eye-video/. Accessed July 3, 2020.